Reports and Documents in RedAnt can be changed using Crystal Reports version 9 or above. Making simple text changes and moving information on the report can be undertaken by opening the report and making the changes. We strongly advise taking a backup copy of your RedAnt\Reports folder in case you wish to revert back to the original.
Users wanting to create their own reports or undertake more advanced changes will be required to link the report to the SQL Server database. The standard reports in RedAnt will be using links to our development servers and consequently will not allow changes.
The method for creating a link for a new report or an existing report is slightly different but we will cover both options below. We shall be using Crystal Reports Version XI R2 to do this although it is almost identical in the other versions.
Change the Database Links On An Existing Report
First of all open the report in crystal reports. From the top menu select Database > Set Datasource Location
A window similar to the following will appear:
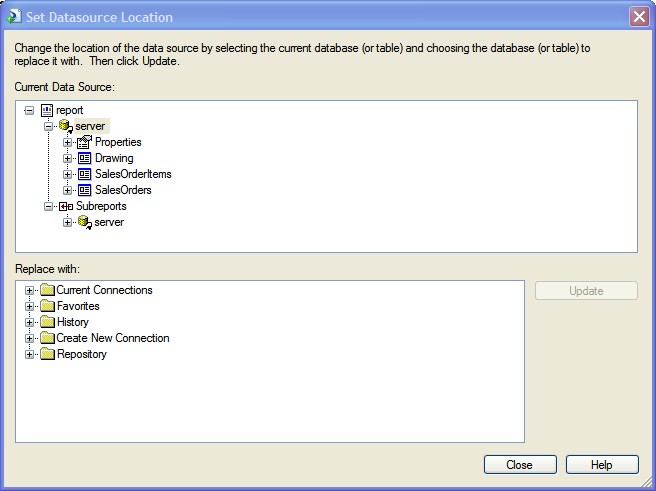
The top section shows the SQL instance and database name, in our case 'server' Below this are all the database tables used in the report including any subreorts. The subreports tables can be displayed by clicking the + against the SQL instance name.
The bottom section shows all the possible connection options available. In this section hit the + against 'Create New Connection'
From the expanded list select the + against the 'OLE DB (ADO)' item as show below

From the following windows select 'Microsoft OLE DB Provider for SQL Server' from the list followed by the Next button

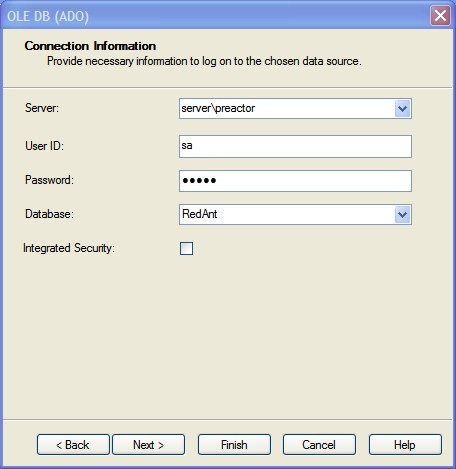
Enter your connection information. The window below is only an example and will not work on your system. The Server field will be made up of the windows pc name and the SQL instance which is normally 'RedAnt'. So for example if the computer where the sql database is installed is called 'Server' and the instance is called 'RedAnt' then the server field should read 'Server\RedAnt'
For the User ID use your Redant login ID and password
If the server, user id and password are correct then the database dropdown will show all the databases. Select either your live or play database and then select Finish
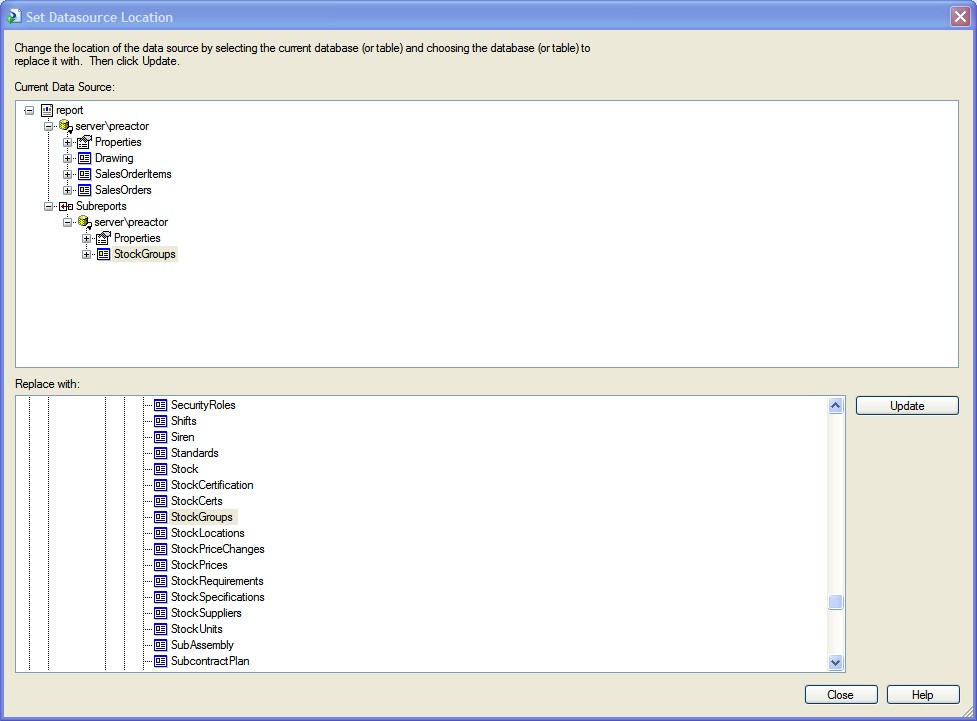
On a successful connection you will be presented with a window similar to the following. The top section will show the incorrect server details which is what we are going to change for each table inclusing the subreports.

In the bottom section select the new server\redant connection followed by the 'Update' button. The top section will then display the new server connection with your SQL server name\RedAnt details. If there are other 'sub-reports' in the top windows showing the old connection the click in the subreport servername\redant and select update again.
Once all the links in the top window match the bottom window then save the report.
The linking procedure only needs to be done once for a report and when the report has been saved it will remember the connections. For a crystal report to function within the RedAnt system these links are programatically changed to suite your system when the report is displayed.
Select Close when finished and then Save your report.
Create the Database Links for a New Report