|
Enter New Job
|   |
|
Enter New Job
| |
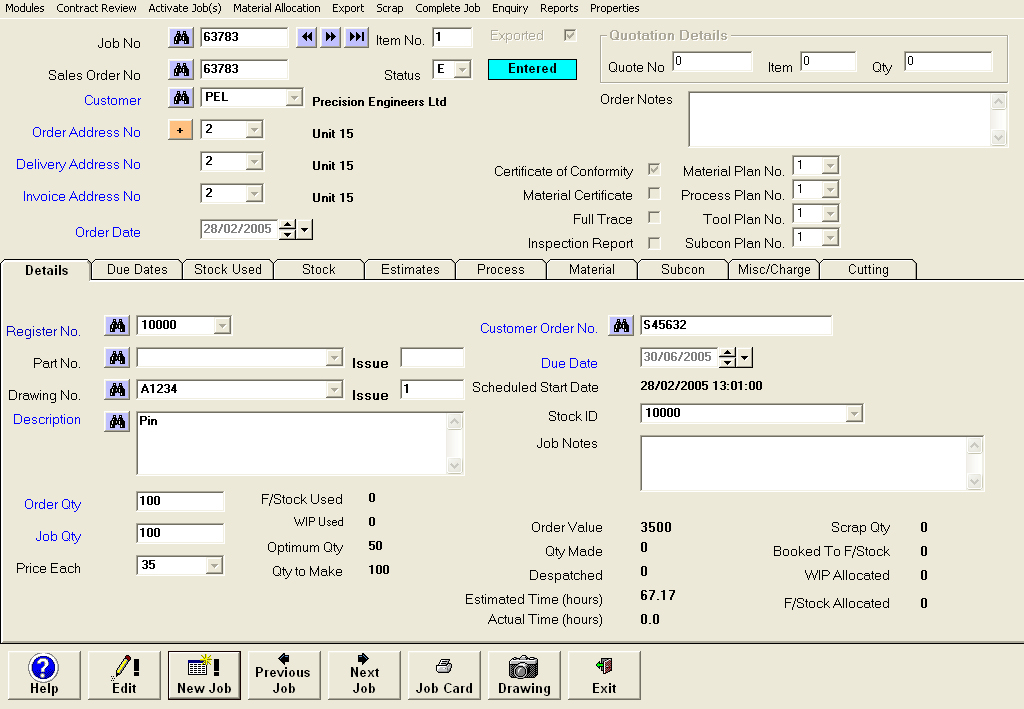
From the main menu select Job Orders. You will be presented with a screen similar to the following:
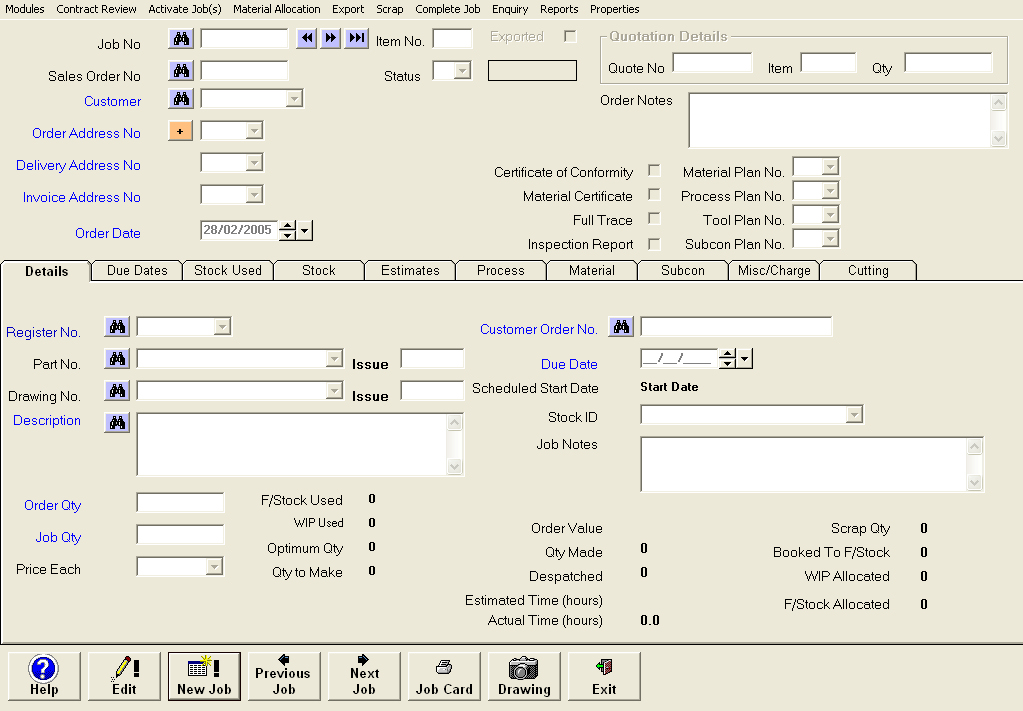
The job orders module holds orders received from customers, completed or live.
There a two distinct ways of setting up this module depending what sort of items you manufacture. For complicated multi component orders which include sub-assemblies then we can operate a 2 tier numbering system to help cope with this. These identification numbers are shown here as Sales Order No and Job No. For this tutorial we have opted for the simplified setup where the 2 numbers will remain identical throughout.
On entering this module we are again shown the last job/customer order input onto the system. You will also notice a consistency in the feel and layout of menu buttons etc. This is applied throughout the system to enable rapid learning of any module.
Select the ![]() button to add a new job. The flashing cursor will appear in the drawing number field. Type a1 in the drawing no field. The system will do an automatic lookup and highlight the nearest matching record.
button to add a new job. The flashing cursor will appear in the drawing number field. Type a1 in the drawing no field. The system will do an automatic lookup and highlight the nearest matching record.

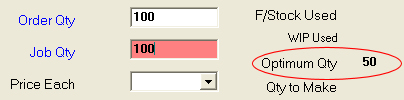
You should now see the drawing number we used for our quotation highlighted. Now press the enter key to select it. We are now moved to the order qty field. This is the total quantity that the customer requires. Lets input 100. Press enter to move to the job quantity field. This is the total quantity that you as a company want to make. This can be greater than the order quantity. There are several possibilities why you may want to increase the job quantity above the order quantity. You may want to make extras as spares, knowing that the customer places orders from you for their spares department on a regular basis. In another case you may be required to always have stock of finished items on the shelf for a call off basis (KAN BAN – see separate module) or maybe it is more economical to make an optimum quantity to prevent you generating a loss on high manufacturing costs. In the master drawing file you can set an optimum quantity so that if an operator tries to enter a customer order to manufacture anything below this figure a warning is issued. If this has been set then you will see it displayed to the right of the order quantity field. However in this example enter the Job Qty as 100.
The price each field is fairly self explanatory. It enables the invoicing module to correctly price up the job. It can be entered now or left until the invoice stage. Click on the dropdown button to reveal a list of prices we have quoted for. Select an appropriate quantity/price combination for our order.

Press enter to move to the customer order number. Try pressing the enter key without typing anything. A message will appear telling you that this field cannot be blank:
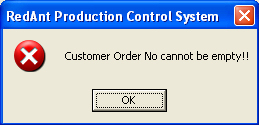
If we haven’t got an order number then we could enter TBA or something similar. Type something applicable e.g. S45632. The due date is the date the customer requires delivery. Enter some date several weeks from now. Enter 2 digits for each part e.g. 300605 would be 30th June 2005.
Pressing enter will take you to the customer id in the top section of the job. If this drawing is customer specific and a customer id has been associated with it, then the id will have already been filled in for it. In our case PEL should appear in the customer id field automatically as it has been set in the Drawing screen. There is no need to change this unless we are making the item for someone else. Press enter.
You can store an unlimited amount of different addresses for each customer. The order address is where the order has been issued from, delivery address is where it has to be delivered to and finally the invoice address is where the invoice is to be sent. In the delivery address no field click on the dropdown arrow to reveal a second address.

Select address 2 by left clicking the mouse anywhere on address 2’s line. This will now tell the system to deliver the goods to address 2 rather than 1. Press the enter key through remaining address fileds until we come to the date field. This is the date the order was added to the system and has been defaulted to today’s date.
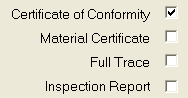
To the right of this field you will see several tick box fields. When selected they tell the system that the drawing requires additional documentation in the case of certificate of conformity, material certificate and inspection report and additional system procedures in the case of the full trace option. Click on certificate of conformity check box to tell the system to automatically generate a certificate when doing a delivery note.
We have now completed our order entry so we need to save it. Select the ![]() button. The screen will clear and our new job number generated. We could have selected
button. The screen will clear and our new job number generated. We could have selected  , in which case the system would have not created a new job and returned to the last one input.
Your job should be similar to the following:
Next - Progressing Job